A snow day is the perfect time for something that takes a long time to cook. Unfortunately, I got a bit of a late start (shoveling had to be done, after all) so the process of both my slow-cooked corn beef
GF Bread — with an actual decent crust!
I got the idea for crusty GF bread from the King Arthur Flour blog. The essential idea is that you cook bread in a preheated dutch oven. This keeps in some steam and makes a nice crisp crust on the outside. I used a standard no-knead bread recipe and tried to make it GF as I went along, with fairly good results but not what I would describe as complete success. I don’t usually make bread so not having used the recipe and knowing what it should be doing when it’s not GF made it more of an adventure.
Ingredients:
- 2 1/2 – 3 cups warm (not hot) water
- 4 1/2 cups GF “Featherlite” flour mix (this is a mix of lighter flours originally devised by Bette Hagman aka The Gluten Free Gourmet)
- 1 c. buckwheat
- 1 c. bean or standard GF baking mix
- 1 1/2 tbsps active-dry yeast (next time, I’m using 2 tbsps)
- 1 egg or egg white, beaten throughly, ideally to a froth or peaks
- 1 tbsp baking powder
- 1 tbsp salt
- cornmeal and cooking spray for the pot
Directions
- Combine all of the ingredients in a large mixing bowl. You want warm (not hot) water — think giving a baby a bath, not making tea. Do not use cold as it has to activate the yeast.
- Stir everything together thoroughly to make a dough. It will be very sticky. If you have beater or bread hook you can use that for 30-60 seconds or just mix by hand.
- Let the dough rise in a warm spot at room temperature for 2 – 2 1/2 hours. It should get quite big.
- Refrigerate it for at least 2 hours. Apparently you can leave it at this stage for up to 7 days and it will get tangier, like a sourdough. I barely had time for the two hours, but next time will leave it longer.
- About 1 /2 to 2 hours before you want your bread, prepare a silicon mat, parchment (lightly greased) or floured cloth (cornmeal works well for this). Plop the dough on it and round it into a ball (at least it’s supposed to be a ball, mine kept sinking flatter.) You can sift a light coat of GF flour to help keep it moist. Try to handle it as little as possible to avoid knocking out the air bubbles.
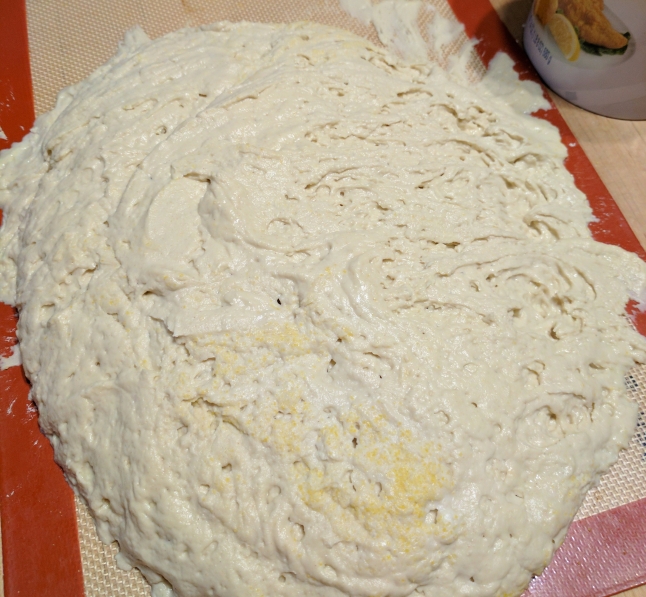
As you can see, the bread dough tried to escape the boundaries of its silicon baking mat. It steadfastly refused to create a nice ball.
- Let the loaf warm to room temperature and rise again. Keep in mind the temperature of your kitchen will make a difference in how quickly the dough rises. It could take up to 3 hours, but you’ll want a least 90 minutes total.
- A half hour to 45 minutes before you want your bread, place a cast-iron dutch oven (including the lid) into to preheat at 450 F.
- In 30 minutes, remove the now hot pot from the oven, and lightly coat it with non-stick spray and sprinkle in some cornmeal. (It might smoke a bit so not too much oil.
- Turn the risen dough into the pot and shake gently to try to make it settle evenly. You can make a few slashes in the top. Then place the lid on and slide it into the oven.
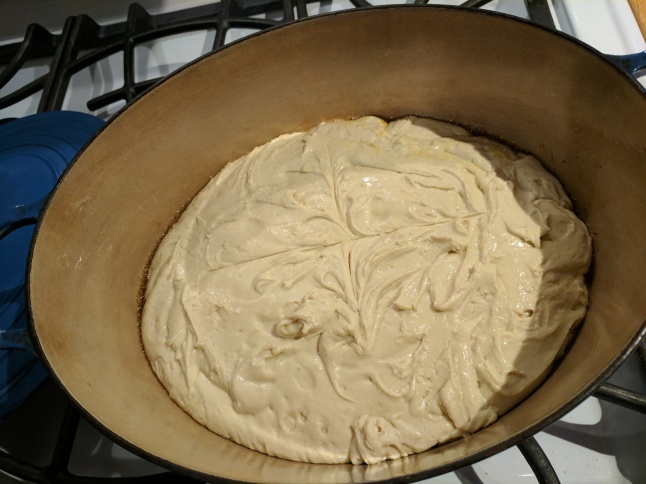
Dough – pre baking in the super toasty dutch oven.
- Bake for 30 minutes with the lid on, and then remove the lid and cook for another 5 or 10 minutes until the loaf browns up.
- Remove the loaf from the oven and let cool as long as you can stand before slicing it to eat. Let it cool completely on a rack before putting it in a bag or cover it, otherwise the steam will still be coming out and it will make your leftover bread lose its nice crispy crust.
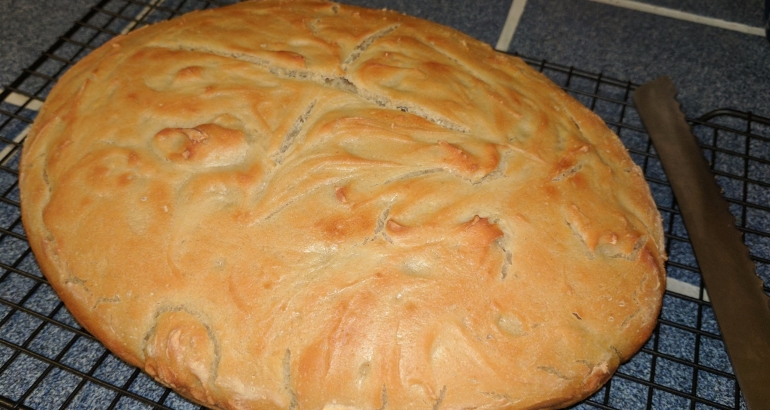
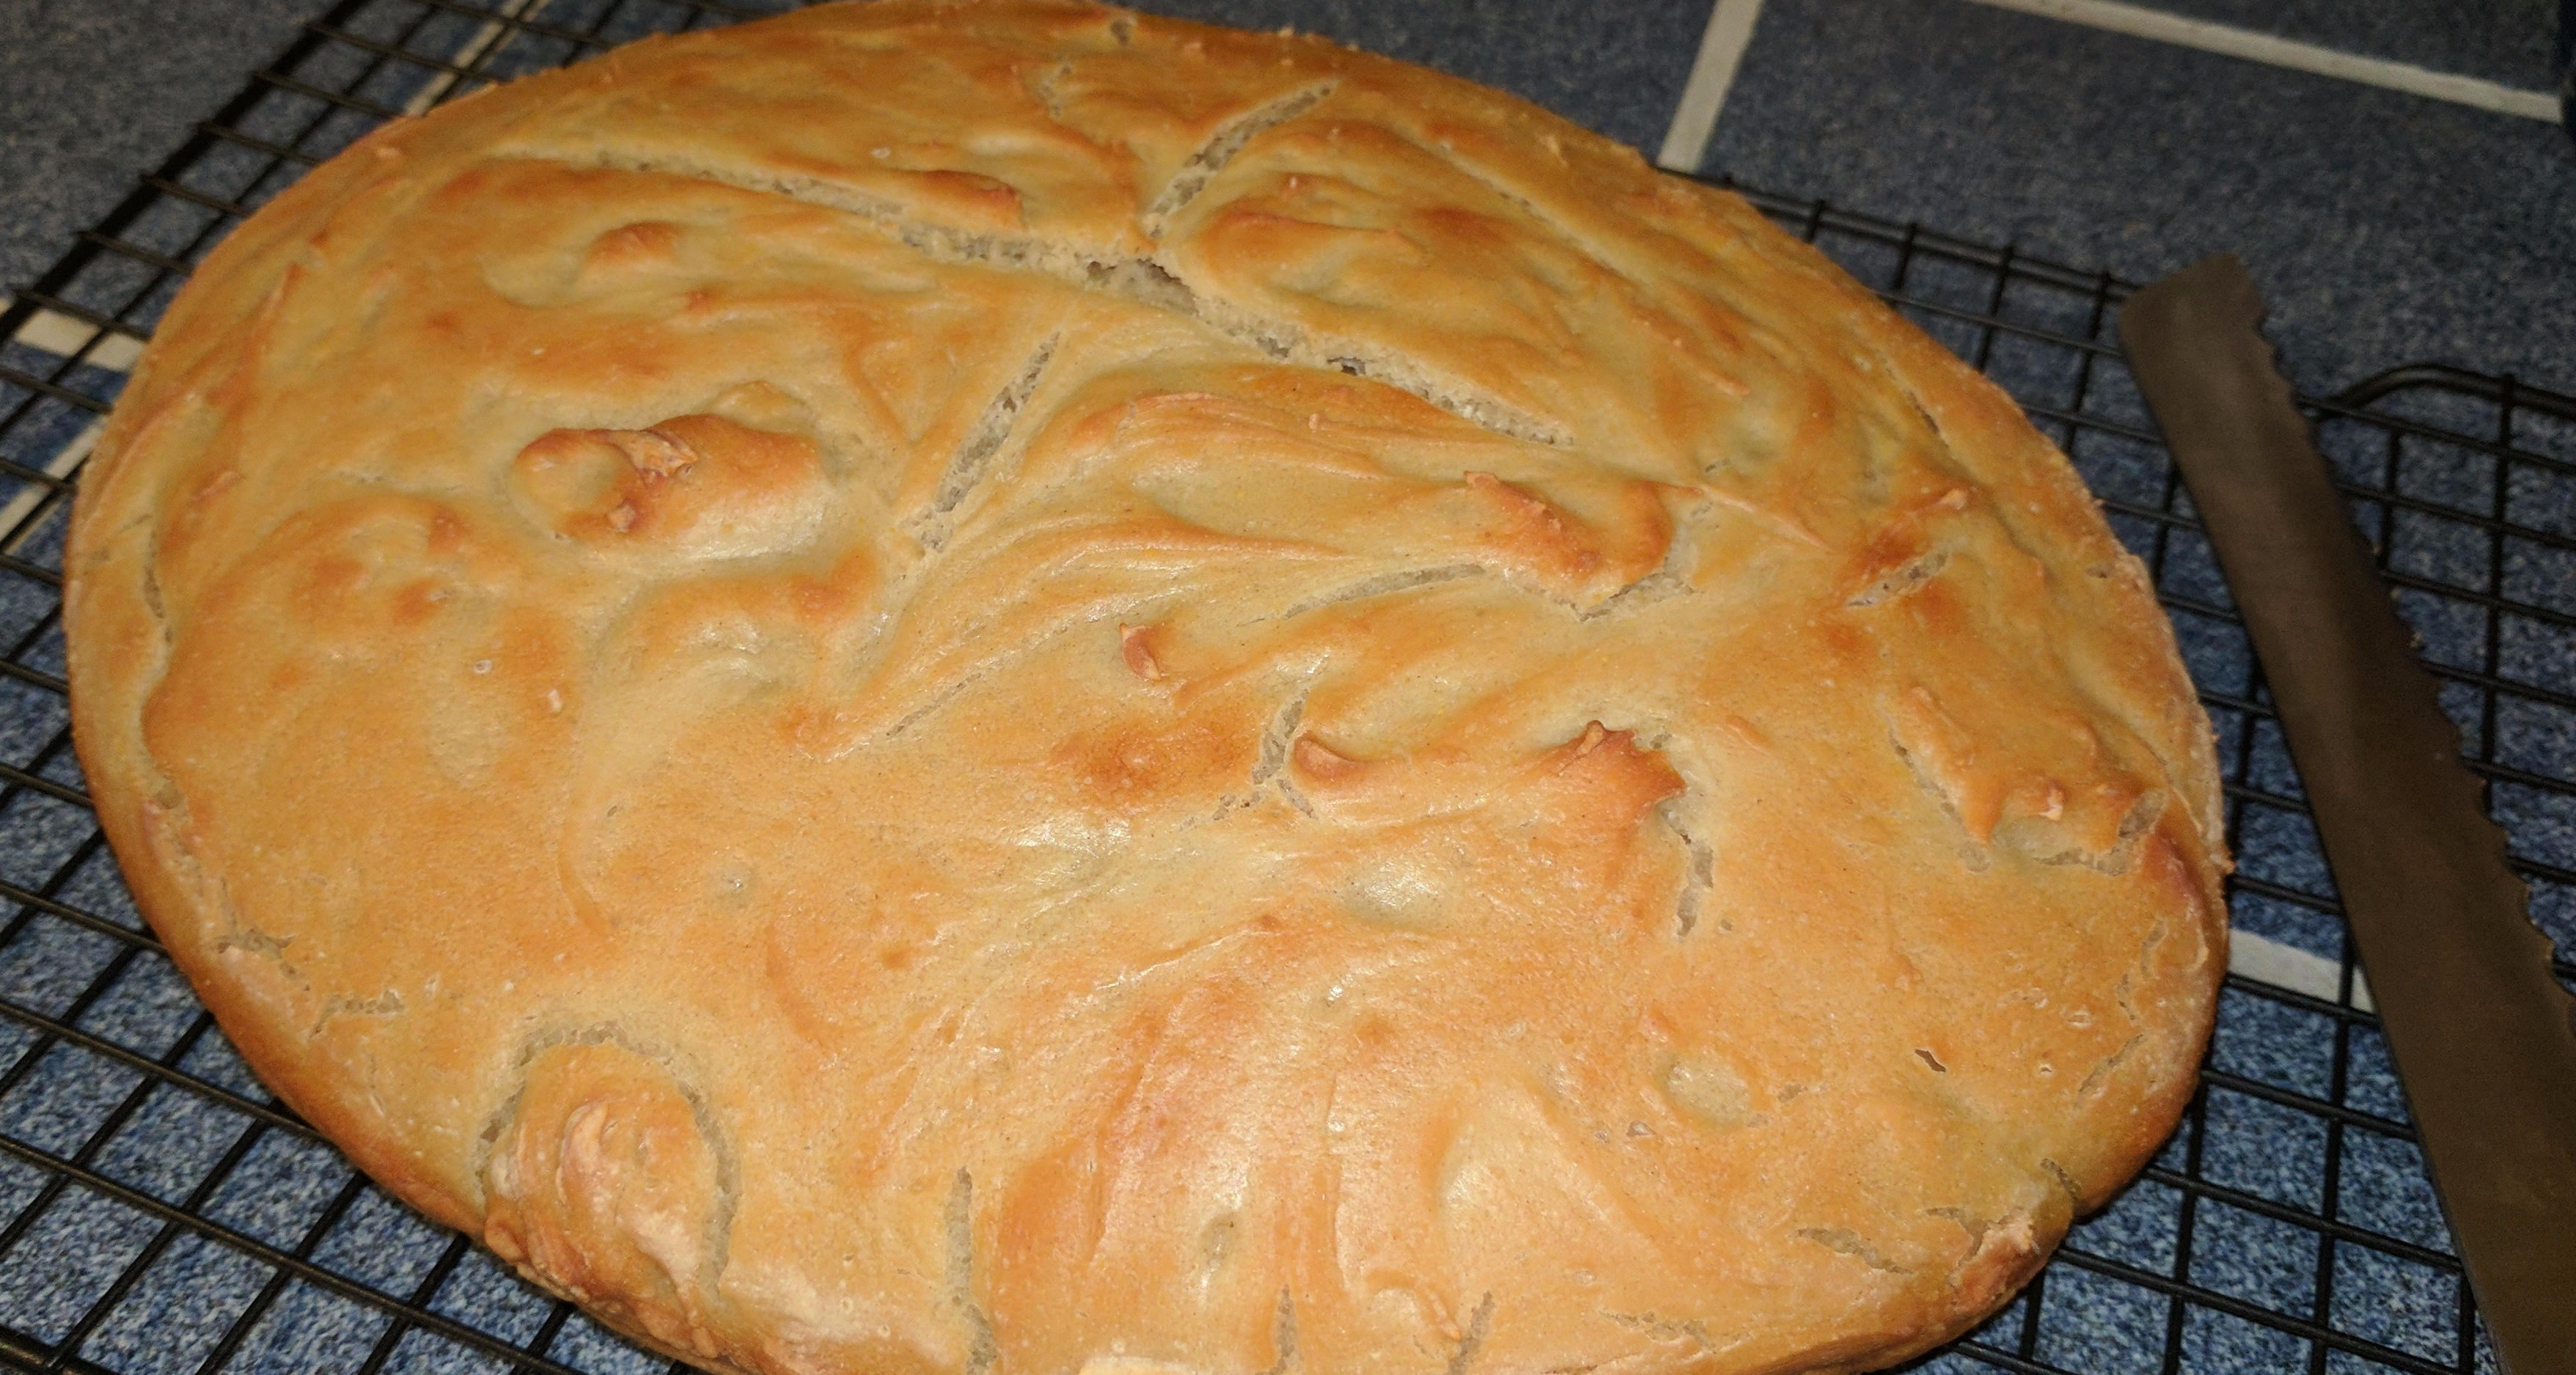
The bread came out with a beautiful, crispy flaky crust, even if it was so flat it looked more like a ciabatta than a boule or loaf. The texture was quite dense, and not as light as I wanted, but still very flavorful and not soggy. In the words of hubby, this is the first GF bread he has ever had with a crispy crust.
 Lessons learned:
Crispy is good. That part worked perfectly. However, the bread needed to rise more, so alterations are in order. It’s definitely worth trying again. My lessons learned are below.
Next time I will:
- Use newer and slightly more yeast than the non-GF recipe called for. (My yeast hadn’t expired but it was only about a week from it. If there hadn’t been a foot of snow in the driveway, I probably would have gotten some new.)
- Use only the egg white and see if that makes a difference.
- Use slightly less liquid — The dough was quite floppy and couldn’t support its own weight, which meant it was too wide and not tall enough.
- Possibly go with slightly less heavy flour — I’m kind of torn on this. Heavier GF flours (bean, buckwheat, etc. ) tend to have more flavor than lighter ones (starches, white rice). After all you want bread worth eating when you get done. I might try adding a bit of cornmeal as well.
- Sift the flour beforehand and see if I can add more air before starting
- Let it rise for longer, both initially on the counter and especially in the fridge.
- See if I can find a slightly smaller dutch oven to force a taller loaf.
- Brush some rosemary oil and garlic over the top for added flavor.
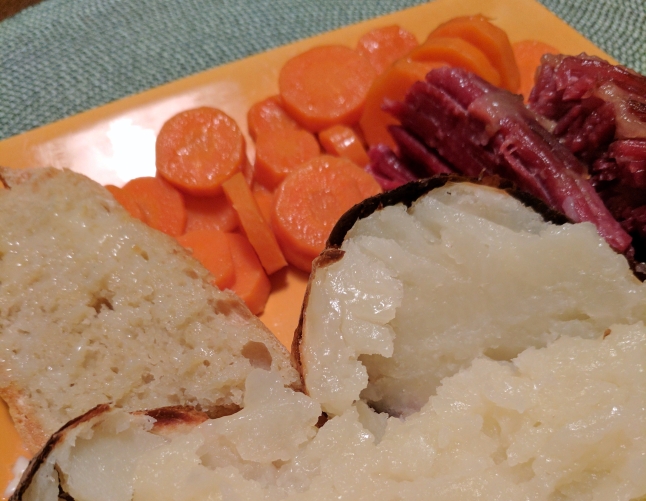
Served with bake potato, corned beef and carrots. Not exactly health food, but very tasty and filling on a cold day

