GF Bread cooked in a Dutch Oven

Crispy, Crusty GF Bread in a Dutch Oven – Adventures in Snow Day Baking

GF Bread cooked in a Dutch Oven

A snow day is the perfect time for something that takes a long time to cook. Unfortunately, I got a bit of a late start (shoveling had to be done, after all) so the process of both my slow-cooked corn beef

and for the bread described here were more rushed than I would have liked.

GF Bread — with an actual decent crust!

I got the idea for crusty GF bread from the King Arthur Flour blog.  The essential idea is that you cook bread in a preheated dutch oven.  This keeps in some steam and makes a nice crisp crust on the outside.  I used a standard  no-knead bread recipe and tried to make it GF as I went along, with fairly good results but not what I would describe as complete success.  I don’t usually make bread so not having used the recipe and knowing what it should be doing when it’s not GF made it more of an adventure.

Ingredients:

  • 2 1/2 – 3 cups warm (not hot) water
  • 4 1/2 cups GF “Featherlite” flour mix (this is a mix of lighter flours originally devised by Bette Hagman aka The Gluten Free Gourmet)
  • 1 c. buckwheat
  • 1 c. bean or standard GF baking mix
  • 1 1/2 tbsps active-dry yeast (next time, I’m using 2 tbsps)
  • 1 egg or egg white, beaten throughly, ideally to a froth or peaks
  • 1 tbsp baking powder
  • 1 tbsp salt
  • cornmeal and cooking spray for the pot

Directions

  1. Combine all of the ingredients in a large mixing bowl.  You want warm (not hot) water — think giving a baby a bath, not making tea.  Do not use cold as it has to activate the yeast.  
  2. Stir everything together thoroughly to make a dough. It will be very sticky.  If you have  beater or bread hook you can use that for 30-60 seconds or just mix by hand.
  3. Let the dough rise in a warm spot at room temperature for 2 – 2 1/2 hours. It should get quite big.   
  4. Refrigerate it for at least 2 hours.  Apparently you can leave it at this stage for up to 7 days and it will get tangier, like a sourdough.   I barely had time for the two hours, but next time will leave it longer.
  5. About 1 /2 to 2 hours before you want your bread, prepare a silicon mat, parchment (lightly greased) or floured cloth (cornmeal works well for this).  Plop the dough on it and round it into a ball (at least it’s supposed to be a ball, mine kept sinking flatter.)  You can sift a light coat of GF flour to help keep it moist.  Try to handle it as little as possible to avoid knocking out the air bubbles. 
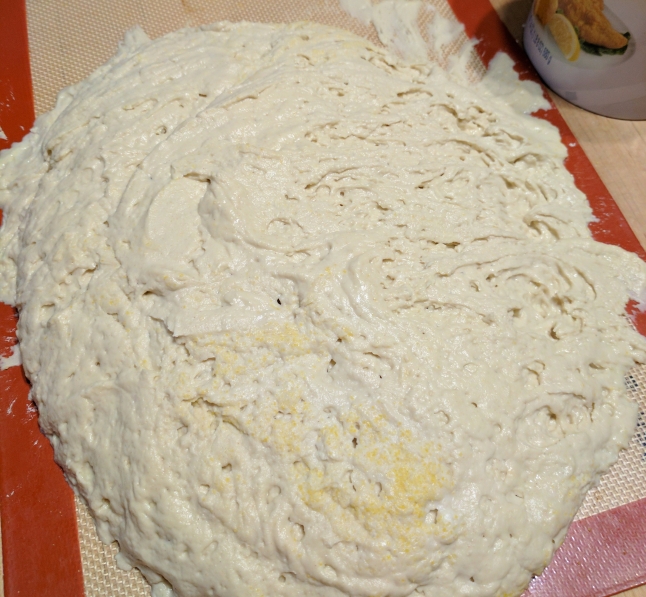
    Bread dough on silicon mat

    As you can see, the bread dough tried to escape the boundaries of its silicon baking mat. It steadfastly refused to create a nice ball.

  6. Let the loaf warm to room temperature and rise again. Keep in mind the temperature of your kitchen will make a difference in how quickly the dough rises. It could take up to 3 hours, but you’ll want a least 90 minutes total.
  7. A half hour to 45 minutes before you want your bread, place a cast-iron dutch oven (including the lid) into to preheat at 450 F.
  8. In 30 minutes, remove the now hot pot from the oven, and lightly coat it with non-stick spray and sprinkle in some cornmeal. (It might smoke a bit so not too much oil.
  9. Turn the risen dough into the pot and shake gently to try to make it settle evenly. You can make a few slashes in the top.  Then place the lid on and slide it into the oven.
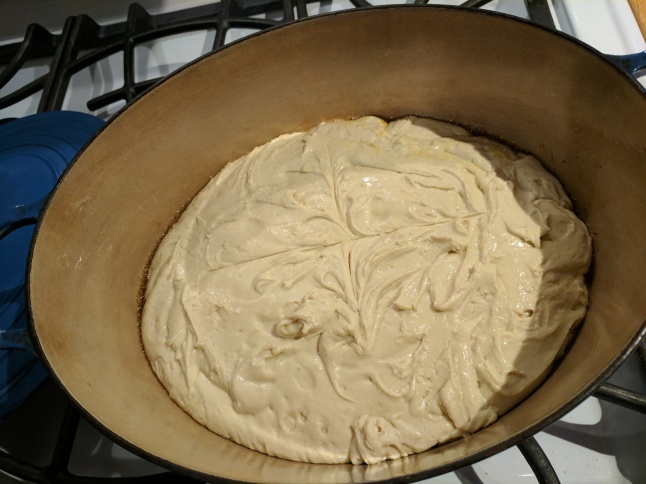
    GF bread dough in the dutch oven.

    Dough – pre baking in the super toasty dutch oven.

  1. Bake for 30 minutes with the lid on, and then remove the lid and cook for another 5 or 10 minutes until the loaf browns up.
  2. Remove the loaf from the oven and let cool as long as you can stand before slicing it to eat.  Let it cool completely on a rack before putting it in a bag or cover it, otherwise the steam will still be coming out and it will make your leftover bread lose its nice crispy crust.

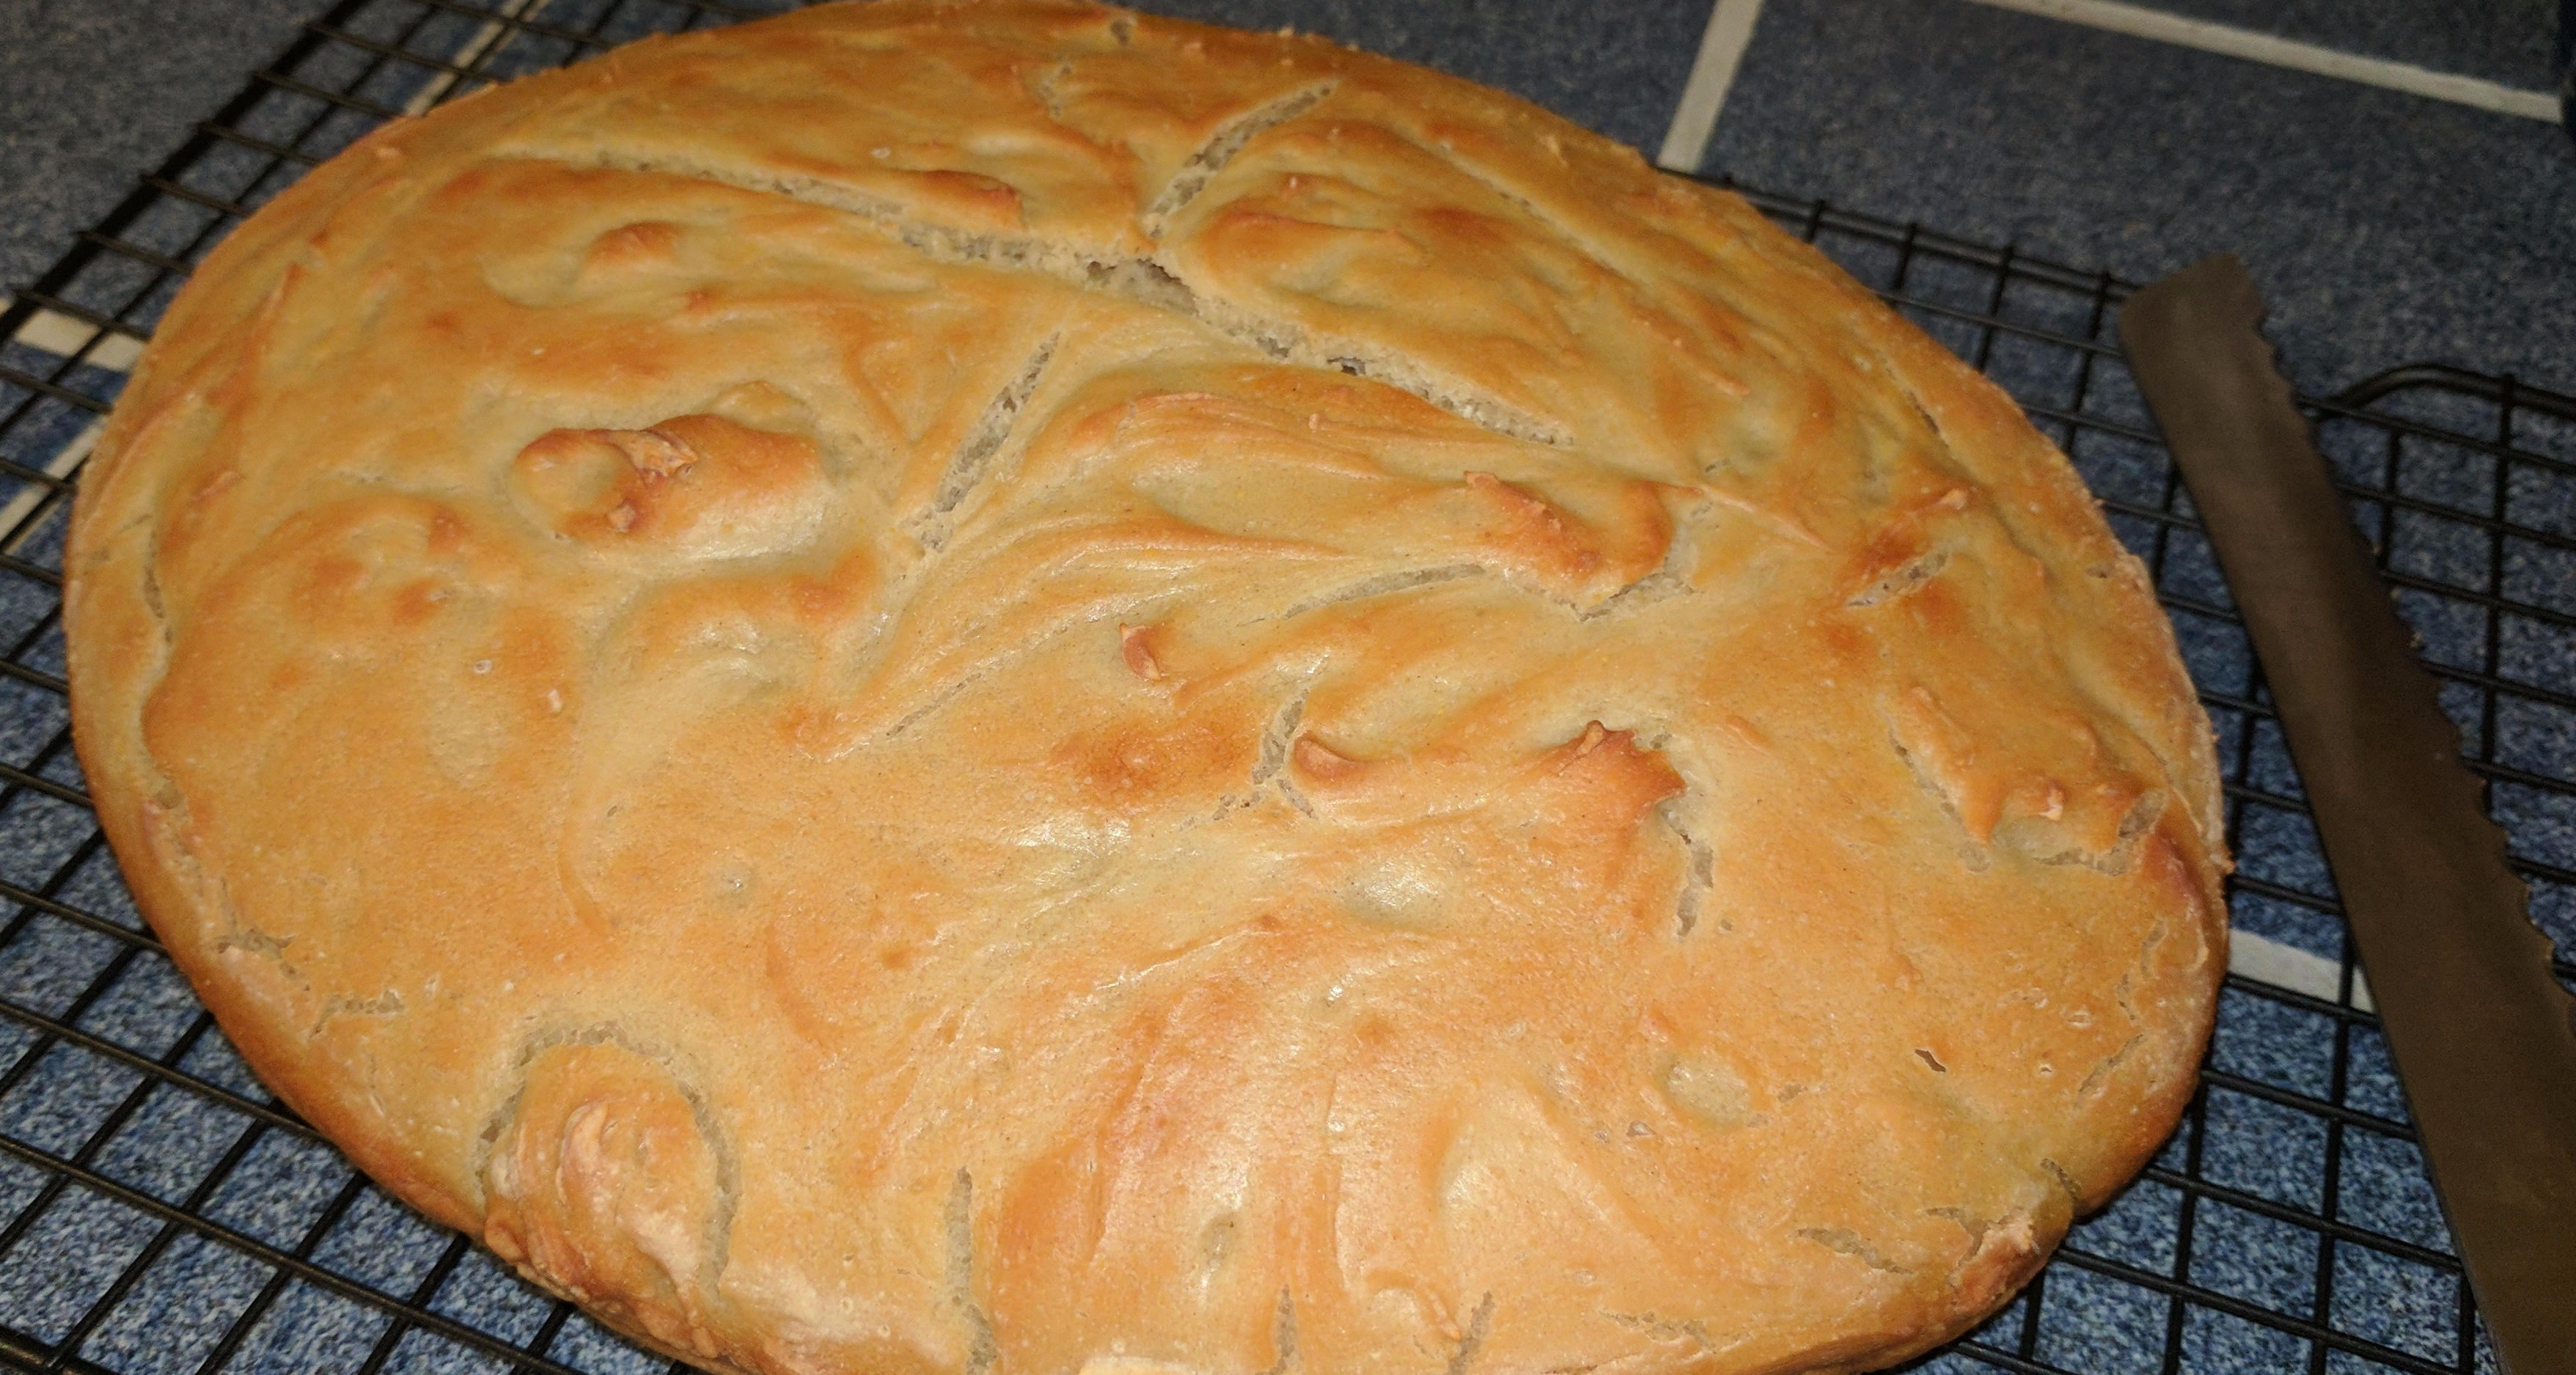
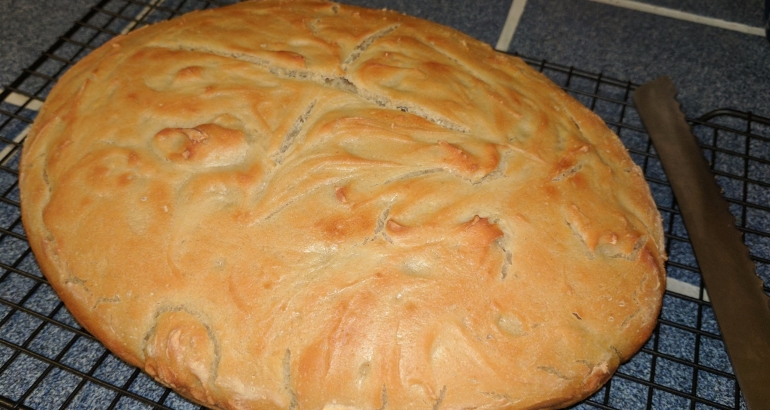
The bread came out with a beautiful, crispy flaky crust, even if it was so flat it looked more like a ciabatta than a boule or loaf.  The texture was quite dense, and not as light as I wanted, but still very flavorful and not soggy. In the words of hubby, this is the first GF bread he has ever had with a crispy crust.

GF Bread cooked in a Dutch OvenLessons learned:

Crispy is good.  That part worked perfectly.  However, the bread needed to rise more, so alterations are in order.  It’s definitely worth trying again. My lessons learned are below.

Next time I will:

  • Use newer and slightly more yeast than the non-GF recipe called for.  (My yeast hadn’t expired but it was only about a week from it.  If there hadn’t been a foot of snow in the driveway, I probably would have gotten some new.)
  • Use only the egg white and see if that makes a difference.
  • Use slightly less liquid — The dough was quite floppy and couldn’t support its own weight, which meant it was too wide and not tall enough.
  • Possibly go with slightly less heavy flour — I’m kind of torn on this. Heavier GF flours (bean, buckwheat, etc. ) tend to have more flavor than lighter ones (starches, white rice).  After all you want bread worth eating when you get done. I might try adding a bit of cornmeal as well.
  • Sift the flour beforehand and see if I can add more air before starting
  • Let it rise for longer, both initially on the counter and especially in the fridge.
  • See if I can find a slightly smaller dutch oven to force a taller loaf.
  • Brush some rosemary oil and garlic over the top for added flavor.
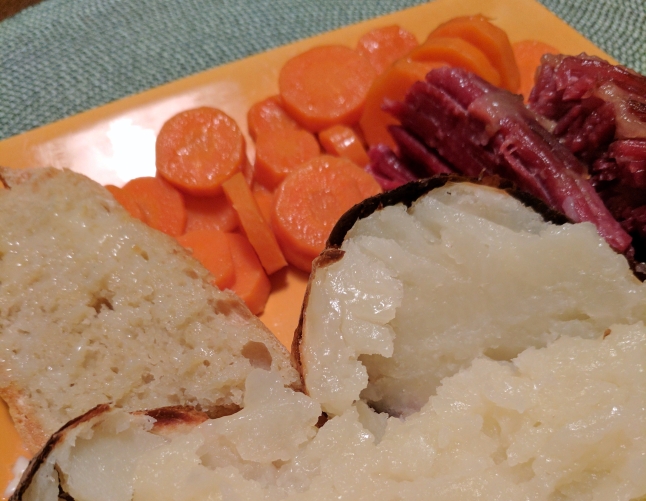
snow day meal

Served with bake potato, corned beef and carrots. Not exactly health food, but very tasty and filling on a cold day



Recognizing a Cooking Style

Or that you don’t have one.  The collection of recipes here is a bit random.  My interests (in life and in cooking) are all over the place.

But nothing gets on here without being made, eaten and liked — because why would you blog about a meal you hated (generally speaking).

There are some unifying factors of course, gluten free being at the top.  But in the Italian style, almost everything we cook quickly for dinner typically starts with diced onions and garlic sautéd in olive oil — the herbs vary depending the the direction – basil and oregano for tomato based, rosemary for chicken, simply gf flour, salt and pepper for a white sauce, pepper and chilies for a Indian or Tex-Mex journey, potatoes or mushrooms for a more French or Irish feel.

I grew up in a meat and potatoes type household with a lot of convenience food and not a garlic bulb in sight (although there were a LOT of onions) — I’m the youngest, my Mom worked and was pretty bored with cooking by the time they had me, and my Dad doesn’t really cook anything besides tomato soup, grilled cheese and brownies. It was the 70s and 80s and most people didn’t experiment with food and cooking the way they do now.  Mum made a lot of casseroles, stews, and convenience food (scalloped potatoes from a box, Hamburger Helper, Shake and Bake, spaghetti sauce from a jar — we did a lot to keep Betty Crocker in business).  More homemade items included macaroni and cheese, corn chowder, meatloaf, homemade pizza (we lived too far from any place that actually made pizza to order it) and something called “Tuna Wiggle.” (tuna noodle casserole with peas).  When I went to college I was not a great cook, and definitely not very experimental.  I did a lot of baking, and baking of course depends on the chemical reaction of the ingredients and the portions of each matter more than in cooking.

When I met my now husband, it was a revelation.  He cooked.  He doesn’t bake.  It completely freaked me out to cook something without slavishly following the recipe.  He loved to experiment and many of the things he makes often never came out quite the same twice.   One of his standbys in college was a simple chicken in wine with artichokes served over rice.  In the same way he had never even heard of Hamburger Helper, I’d never eaten an artichoke in my life.  I’ve gradually adapted to his way and cooking is one of the activities we share the most. With a lot of fresh ingredients and spices. I’m no longer afraid to experiment more with styles of cooking, with ingredients and with ratios — even when baking.  I eat a lot less processed food.

I’ve recognized my inner chef.

Although I still admit to loving Shake & Bake (and inventing a GF substitute!).


via Daily Prompt: Recognize

Gluten-Free Pulled Pork

Dry-Rubbed Pulled Pork and Barbecue Sauce

I love love love pulled pork, but don’t have a real BBQ pit in the yard.  Instead, I take a shortcut of popping my pork in a crockpot, which still gets you a slow-cooked, braised pork without a lot of mess.

Dry Rub ingredients

  • 1/4 c. brown sugar, loosely packed
  • 2 tbsp chili powder
  • 1 tbsp cumin
  • 1 tbsp paprika
  • 2 tsp ground pepper
  • 1 tsp cayenne pepper
  • 1 tsp dry mustard
  • 1 tsp salt

Mix the ingredients together.  Trim off most of the excess fat from a pork shoulder roast (I used a Boston butt that was just over 4 lbs).  Place the rub on the top of the roast and sides, then flip over and place the rest on bottom of the roast. Ideally it is best to place the rub on the roast the night before you cook it.

The next morning place the roast in a large crockpot.  Pour 1/4 cup white or apple cider vinegar and 1/2 of dry ginger ale into the crock pot.  Cook on high for one hour and then turn down to low and cook for at least 4-5 more hours, depending on the size of the meat.  Because it is in a crock pot, and tends to be fairly fatty cut of meat, you can let it go a fair amount before it will become dry.

The meat is done when it flakes off when touched with a fork.

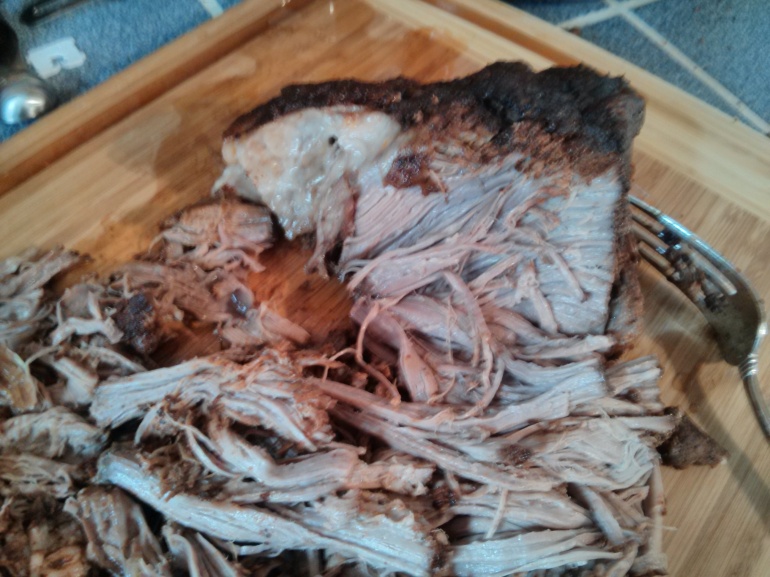
Gluten-Free Pulled PorkRemove the meat from the crock pot and let rest for 20 minutes.  Then pull the meat into shreds with two forks.

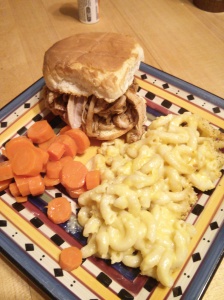
You can serve on a GF bun or with mac and cheese, cole slaw or other traditional BBQ accompaniments, including, of course, BBQ sauce.

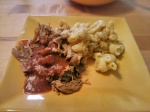
Pulled Porked BBQ with Gluten-Free Macaroni and Cheese

Pulled Pork BBQ with Gluten-Free Macaroni and Cheese

As an experiment.  I made a Memphis style, whereas last time I made a mustard sauce.  It was good, but not quite what I wanted. If you’re buying, Pork Barrel makes a nice smoky BBQ that’s GF, or I also like Sweet Baby Ray’s.

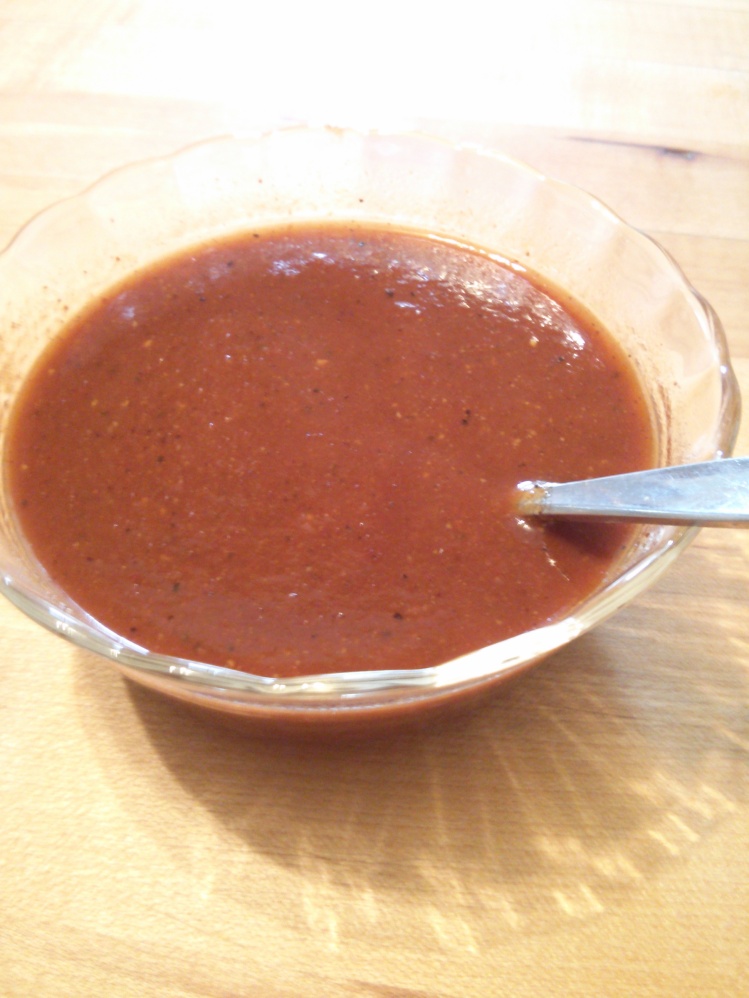
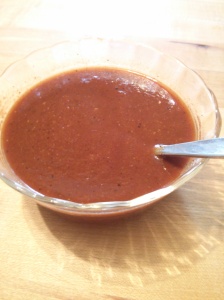
gluten-free Memphis style barbecue sauce

Memphis Style BBQ Sauce

gluten-free Memphis style barbecue sauceBBQ and other sauces can often be “stealth” sources of gluten, so if you make your own, you can be assured it’s gluten-free.  Plus this is delicious.

This makes about 3 cups, more than enough for your average pulled pork shoulder and some extra besides.  It will keep for several weeks in the fridge or longer if you bottle it and store it properly.

This is adapted from Steven Raichlen’s Barbecue! Bible Sauces Rubs and Marinades book.  It’s a great book that gives you background on the way the ingredients in BBQ sauces and rubs work.  I highly recommend it.

With the meat, this sauce has just about the right amount of kick, and will mellow out a bit as it cools than when you first put it together.

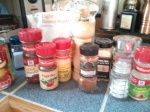
Wet Ingredients

  • 2 cups tomato sauce
  • 1/2 c. apple cider vinegar
  • 1/2 c. Pepsi or other cola
  • 2 tbsp yellow or brown mustard
  • 2 tbsp lemon juice (1 average lemon should do it)
  • 2 tbsp Worcestershire Sauce
  • 2 tbsp teriyaki sauce (Note that teriyaki and soy sauce can be a hidden source of gluten, so make sure yours is GF by checking the allergen/ingredient list or make sure it’s labeled GF. (Kikoman now makes a GF Teriyaki and La Choy has a GF soy sauce).
  • 1 1/2 tbsp soy sauce (ditto as above for the teriyaki on the stealth gluten)
  • 1 tbsp molasses
  • 1/2 tsp Tabasco sauce
  • 1/4 tsp liquid smoke (optional)

Dry Ingredients

  • 1/4 c. brown sugar, loosely packed
  • 1 tbsp chili powder
  • 1/2 tbsp ground black pepper
  • 1/2 tbsp dry mustard
  • 1/2 tbsp paprika
  • 1 1/2 tsp garlic powder
  • 1/2 tsp dried onion or shallot
  • 1/4 tsp cayenne pepper
  • 1/8 tsp celery seed
  • 1/8 tsp salt (optional)

Note: I did not add much salt as almost all of the sauce ingredients already have a fair amount of sodium by their nature.

Directions:

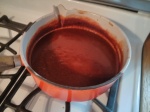
Gluten-Free Memphis BBQ sauce on the stove

Ancient Le Creuset to the rescue

Mix the dry ingredients together.

Place the wet ingredients in a stainless steel or enamel pan (I used my Le Creuset saucepan that I inherited from my mother-in-law, who got it as a wedding gift so it’s older than I am.  It has a lovely pour spout that is very convenient for pouring the sauce after cooking.)  Bring the liquid ingredients to a boil over medium high heat.  Stir for a minute or so and then add the dry ingredients and mix.  Simmer over low heat for 20-30 minutes until the sauce thickens up and is reduced by a quarter or so.   Let cool, pour into containers for serving and storage. It will keep in the refrigerator for several weeks at least. IMG_20150726_125143

I served it with pulled pork. You can dip or just throw some on and mix it up.  Super yum!

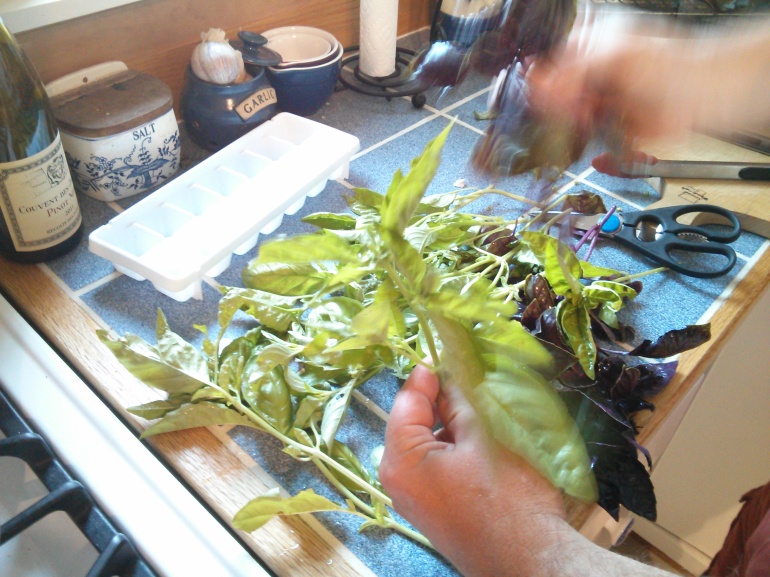
Harvested Basil on the counter

Freezing Herbs (Basil & Oregano)

Our garden is doing better now then it ever has.  It’s fantastic to go out and simply cut a few herbs for a recipe.  However, this winter that’s not going to be an option.  We generally do bring some herbs inside, although they never seem to flourish.  So while we have a host of mid-summer herby bounty, we undertook our first attempt at freezing herbs for later use.  We could dry them (and have) but dried herbs don’t impart as much flavor so we wanted to try the frozen route, which should preserve more of the oils and taste of the herbs.

So how to freeze herbs?

Generally the best option seems to be to blanch the herbs first.  Otherwise, the leaves tend to get brown and not last long.  Blanching removes an enzyme that will otherwise hasten this process.

Blanching simply requires you to dip the herbs in boiling water for a few seconds (2-3) and then plunge them into a cold water bath to stop the cooking process.

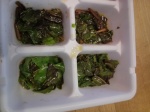
You can then remove the leaves from the stems, and either freeze them flat (breaking off a piece when you want some) or chopped them, put them in ice cube trays with some olive oil and just grab a cube when you want some.

We did this with basil (green and a new purple variety we tried this summer) and oregano.

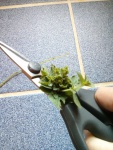
The easiest thing is to bring in the herb stems, wash, trim off any seedlings on the top and any browning leaves). Blanch, plunge and then pat dry.  Remove the leaves from the stems.  For basil, you can snip or just pull them.  Since oregano leaves are so much smaller, I used my (invaluable, seriously invest in a pair) herb scissors to strip the leaves off the stem (this also works when they are fresh).

Chop roughly, place in a ice cube try and pour on just enough oil to barely cover them.  We went for fairly small portions. I’ll let you know how the freezing process works out.