GF Bread cooked in a Dutch Oven

Crispy, Crusty GF Bread in a Dutch Oven – Adventures in Snow Day Baking

GF Bread cooked in a Dutch Oven

A snow day is the perfect time for something that takes a long time to cook. Unfortunately, I got a bit of a late start (shoveling had to be done, after all) so the process of both my slow-cooked corn beef

and for the bread described here were more rushed than I would have liked.

GF Bread — with an actual decent crust!

I got the idea for crusty GF bread from the King Arthur Flour blog.  The essential idea is that you cook bread in a preheated dutch oven.  This keeps in some steam and makes a nice crisp crust on the outside.  I used a standard  no-knead bread recipe and tried to make it GF as I went along, with fairly good results but not what I would describe as complete success.  I don’t usually make bread so not having used the recipe and knowing what it should be doing when it’s not GF made it more of an adventure.

Ingredients:

  • 2 1/2 – 3 cups warm (not hot) water
  • 4 1/2 cups GF “Featherlite” flour mix (this is a mix of lighter flours originally devised by Bette Hagman aka The Gluten Free Gourmet)
  • 1 c. buckwheat
  • 1 c. bean or standard GF baking mix
  • 1 1/2 tbsps active-dry yeast (next time, I’m using 2 tbsps)
  • 1 egg or egg white, beaten throughly, ideally to a froth or peaks
  • 1 tbsp baking powder
  • 1 tbsp salt
  • cornmeal and cooking spray for the pot

Directions

  1. Combine all of the ingredients in a large mixing bowl.  You want warm (not hot) water — think giving a baby a bath, not making tea.  Do not use cold as it has to activate the yeast.  
  2. Stir everything together thoroughly to make a dough. It will be very sticky.  If you have  beater or bread hook you can use that for 30-60 seconds or just mix by hand.
  3. Let the dough rise in a warm spot at room temperature for 2 – 2 1/2 hours. It should get quite big.   
  4. Refrigerate it for at least 2 hours.  Apparently you can leave it at this stage for up to 7 days and it will get tangier, like a sourdough.   I barely had time for the two hours, but next time will leave it longer.
  5. About 1 /2 to 2 hours before you want your bread, prepare a silicon mat, parchment (lightly greased) or floured cloth (cornmeal works well for this).  Plop the dough on it and round it into a ball (at least it’s supposed to be a ball, mine kept sinking flatter.)  You can sift a light coat of GF flour to help keep it moist.  Try to handle it as little as possible to avoid knocking out the air bubbles. 
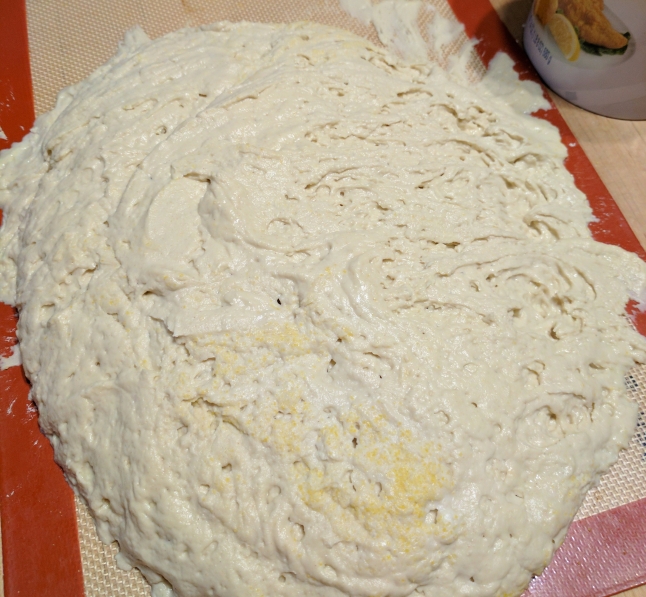
    Bread dough on silicon mat

    As you can see, the bread dough tried to escape the boundaries of its silicon baking mat. It steadfastly refused to create a nice ball.

  6. Let the loaf warm to room temperature and rise again. Keep in mind the temperature of your kitchen will make a difference in how quickly the dough rises. It could take up to 3 hours, but you’ll want a least 90 minutes total.
  7. A half hour to 45 minutes before you want your bread, place a cast-iron dutch oven (including the lid) into to preheat at 450 F.
  8. In 30 minutes, remove the now hot pot from the oven, and lightly coat it with non-stick spray and sprinkle in some cornmeal. (It might smoke a bit so not too much oil.
  9. Turn the risen dough into the pot and shake gently to try to make it settle evenly. You can make a few slashes in the top.  Then place the lid on and slide it into the oven.
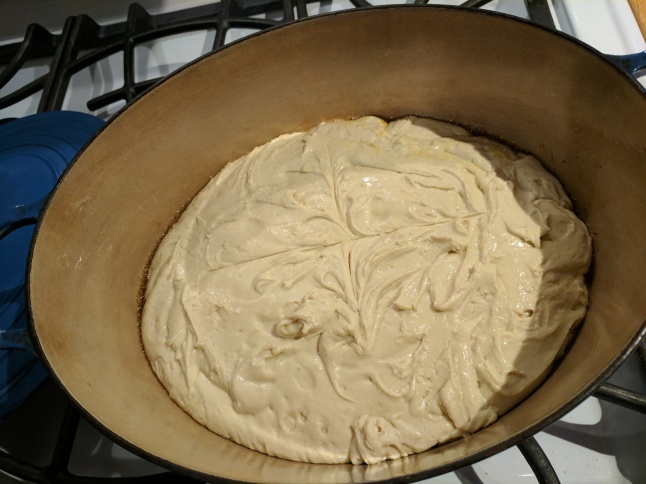
    GF bread dough in the dutch oven.

    Dough – pre baking in the super toasty dutch oven.

  1. Bake for 30 minutes with the lid on, and then remove the lid and cook for another 5 or 10 minutes until the loaf browns up.
  2. Remove the loaf from the oven and let cool as long as you can stand before slicing it to eat.  Let it cool completely on a rack before putting it in a bag or cover it, otherwise the steam will still be coming out and it will make your leftover bread lose its nice crispy crust.

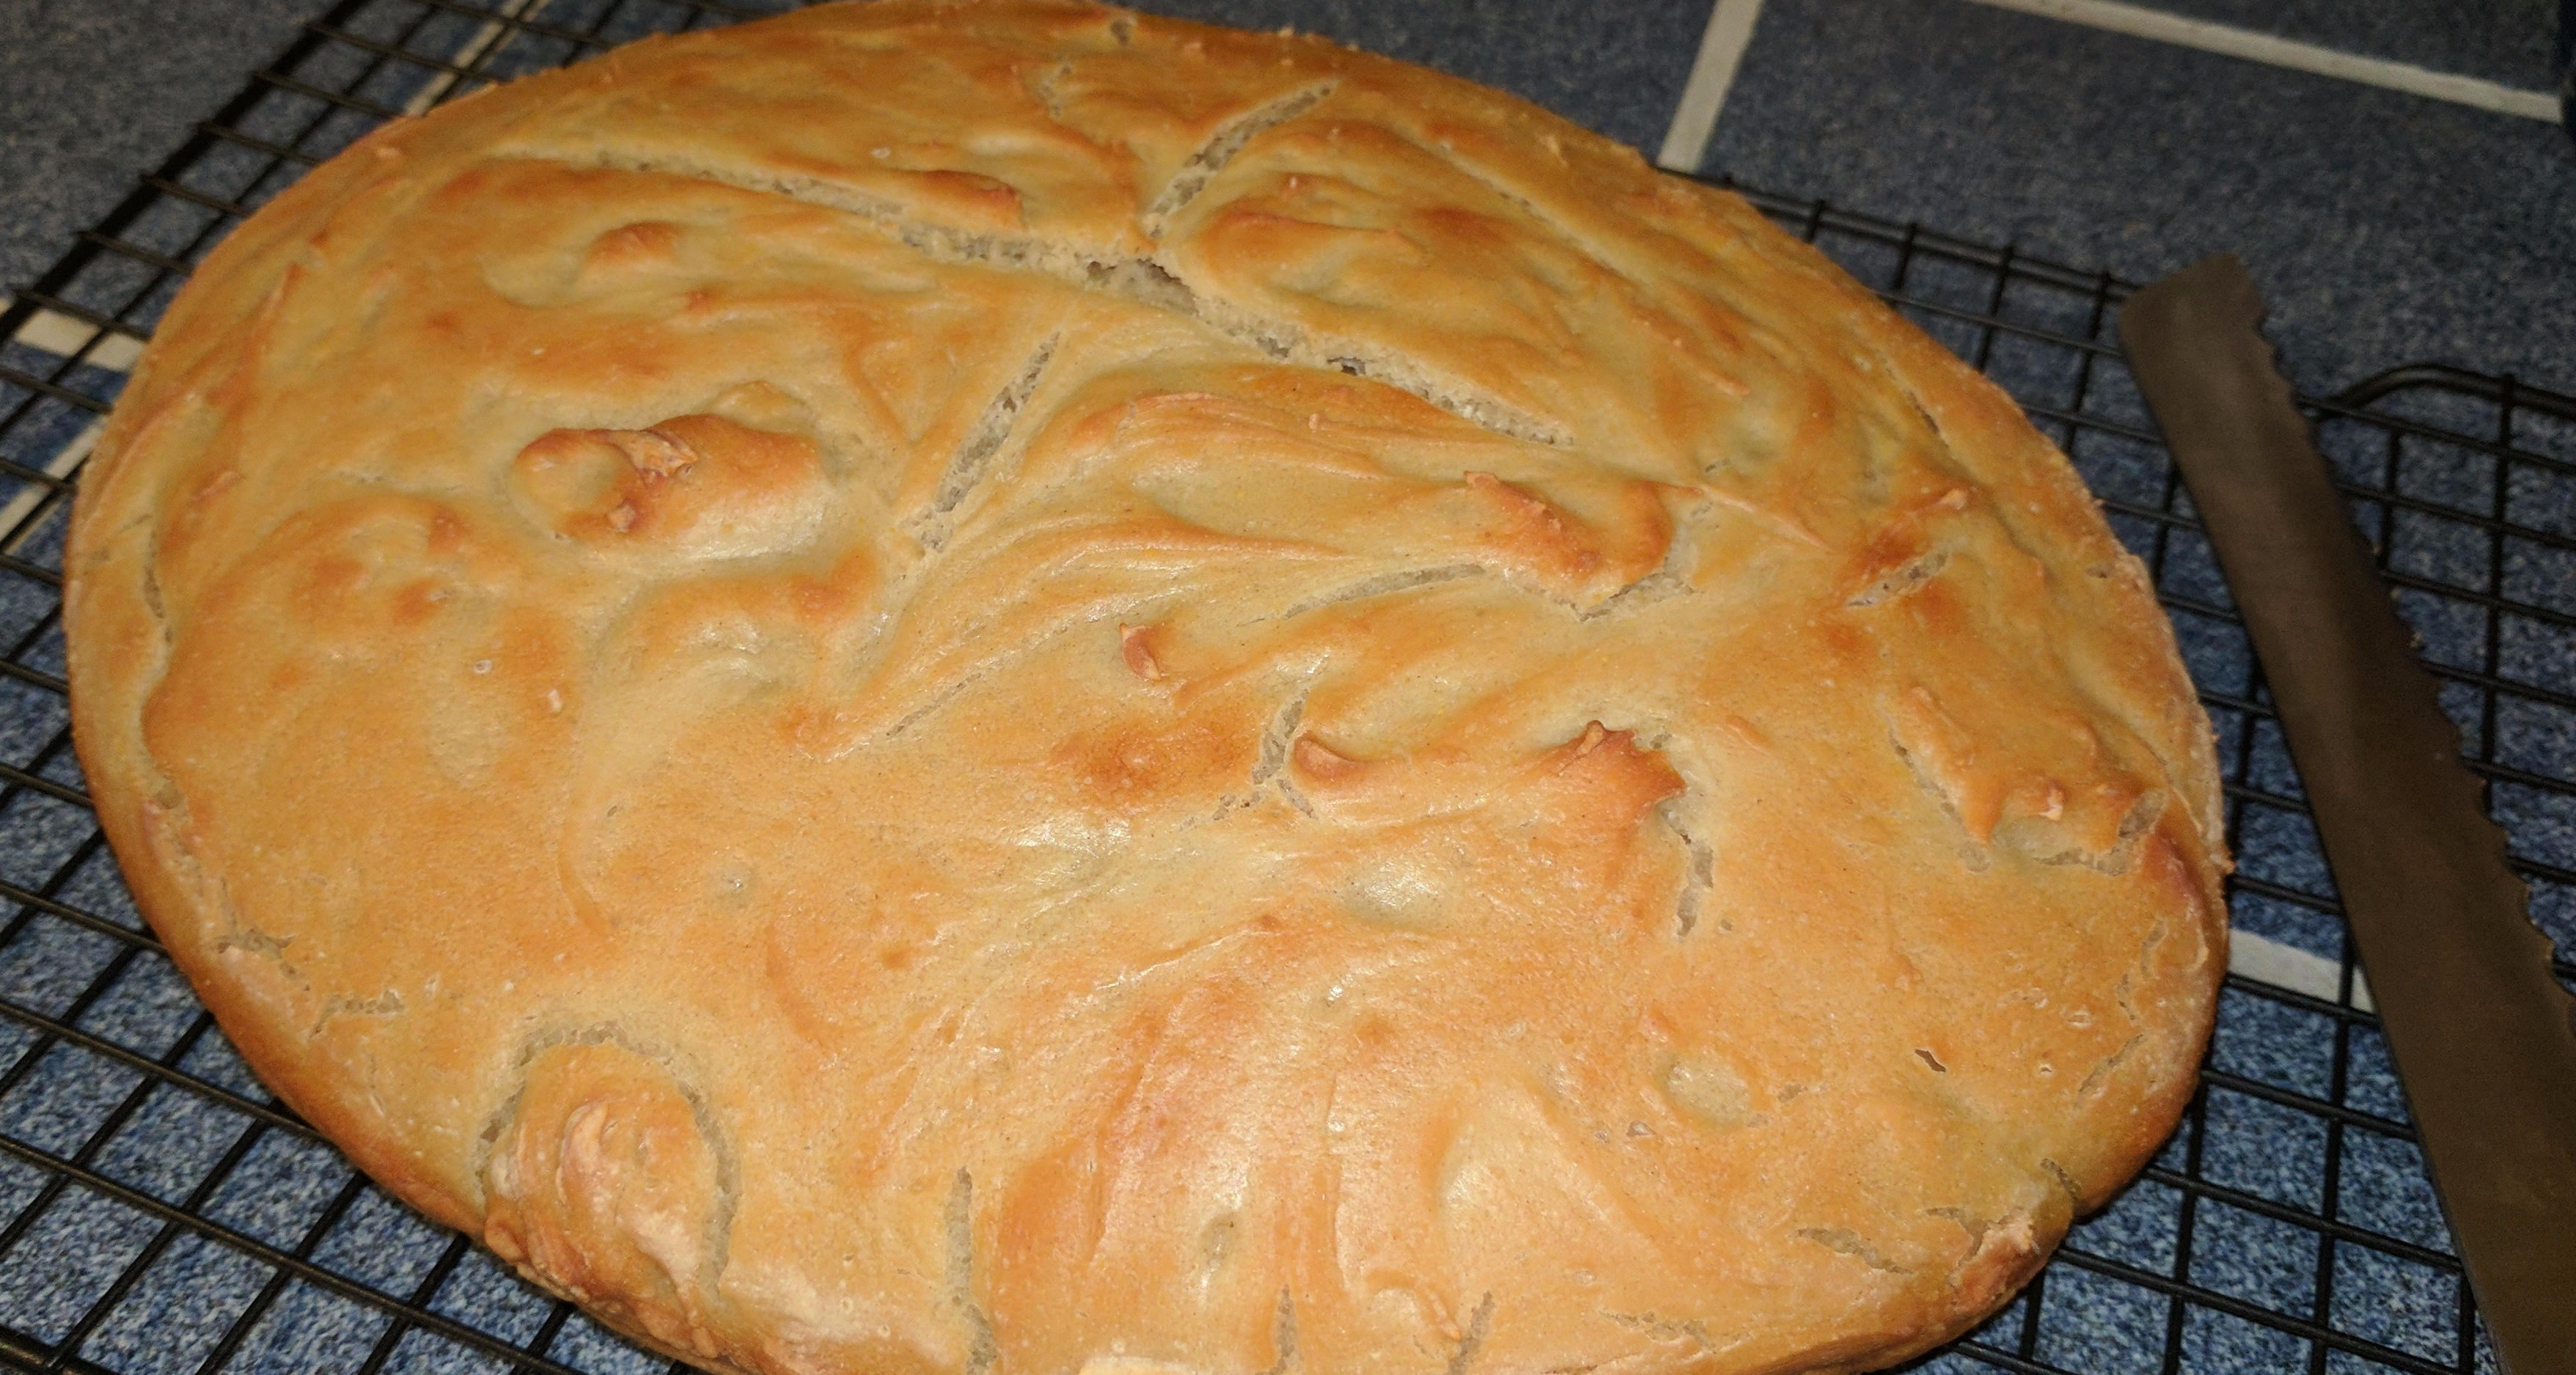
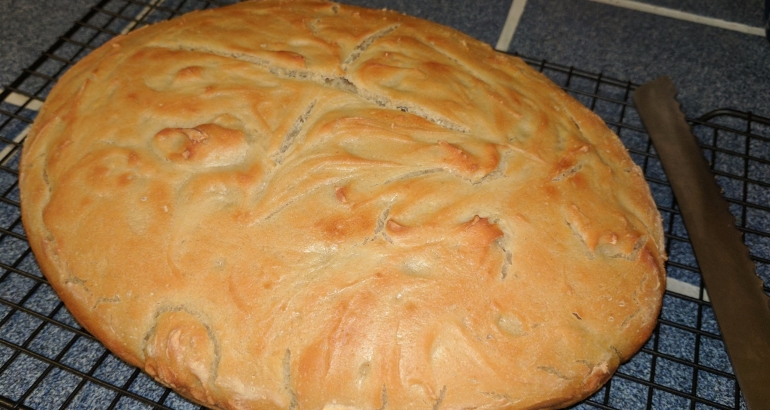
The bread came out with a beautiful, crispy flaky crust, even if it was so flat it looked more like a ciabatta than a boule or loaf.  The texture was quite dense, and not as light as I wanted, but still very flavorful and not soggy. In the words of hubby, this is the first GF bread he has ever had with a crispy crust.

GF Bread cooked in a Dutch OvenLessons learned:

Crispy is good.  That part worked perfectly.  However, the bread needed to rise more, so alterations are in order.  It’s definitely worth trying again. My lessons learned are below.

Next time I will:

  • Use newer and slightly more yeast than the non-GF recipe called for.  (My yeast hadn’t expired but it was only about a week from it.  If there hadn’t been a foot of snow in the driveway, I probably would have gotten some new.)
  • Use only the egg white and see if that makes a difference.
  • Use slightly less liquid — The dough was quite floppy and couldn’t support its own weight, which meant it was too wide and not tall enough.
  • Possibly go with slightly less heavy flour — I’m kind of torn on this. Heavier GF flours (bean, buckwheat, etc. ) tend to have more flavor than lighter ones (starches, white rice).  After all you want bread worth eating when you get done. I might try adding a bit of cornmeal as well.
  • Sift the flour beforehand and see if I can add more air before starting
  • Let it rise for longer, both initially on the counter and especially in the fridge.
  • See if I can find a slightly smaller dutch oven to force a taller loaf.
  • Brush some rosemary oil and garlic over the top for added flavor.
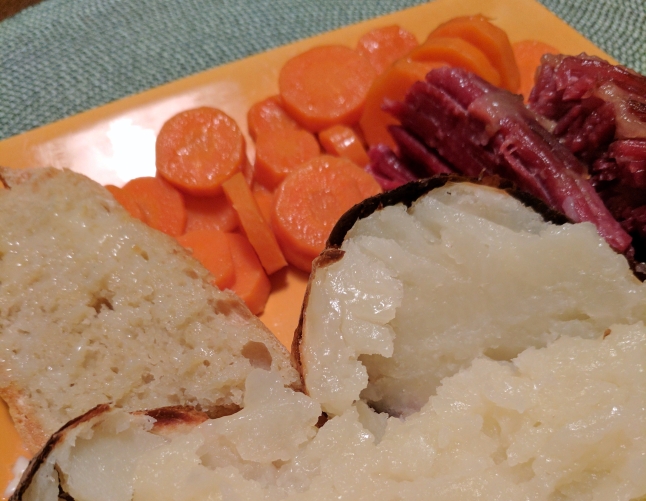
snow day meal

Served with bake potato, corned beef and carrots. Not exactly health food, but very tasty and filling on a cold day



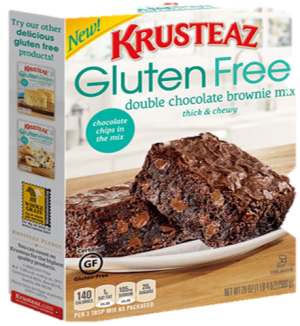
Krusteaz Gluten Free Double Chocolate Brownie Mix

Thumbs up on this one.Box of Krusteaz Gluten Free double chocolate brownie mix This mix was new at my local grocery so I thought I would give it a try.  The brownies pass the ultimate GF test, which is you can’t tell that they are gluten free.  Moist dense, and chocolaty, with the added chocolate chip bursts.
You just need to add add oil, an egg and water, so they whip up fast.  I do recommend whisking the egg before adding the water and oil and then again before the mix.  The more air you whip into eggs in any GF recipe helps them rise better.

Because they recommended the 8×8 pan rather than a 9 x 13, the brownies are fairly tall, and take a while to cook.  But they’re worth it.

Basalmic-chicken-capers-olives

Balsamic Roasted Chicken with Olives, Rosemary and Capers

This is an excellent fall and winter dish. The capers and olives blend with the tomatoes and balsamic to create a intense flavor.

I’m not that a big a fan of balsamic vinegar (unlike hubby) and even I loved this. The original recipe came from a magazine.  Hubby and I both agree that while it was good, the olives (the original used a whole cup of black) were a little too much.  It also used bone-in chicken with the skin still on, which made it very fatty.  This version is adjusted from the original.  The next time I think I will also add some red pepper strips, cooked with the onions and garlic or more likely, soft marinated.

Ingredients

  • 2 lbs of boneless chicken thighs
  • 1 small yellow or white onion, diced or 3/4 cup pearl onions, quartered
  • 4-5 finely chopped garlic cloves
  • 8-10 button mushrooms, washed and quartered
  • 4 tbsp capers
  • 1/3 c. balsamic vinegar
  • 1/2 c pitted green olives (can use black if preferred)
  • 14 or 16 oz can crushed tomatoes
  • 1 tbsp brown sugar
  • 1 tsp crushed red pepper flakes
  • 3-4 sprigs rosemary
  • salt and pepper to taste – this will depend on the amount of salt in your tomatoes, capers, etc.

Directions

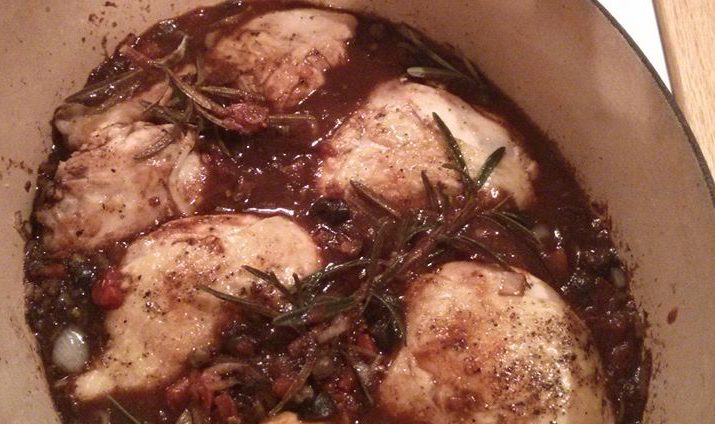
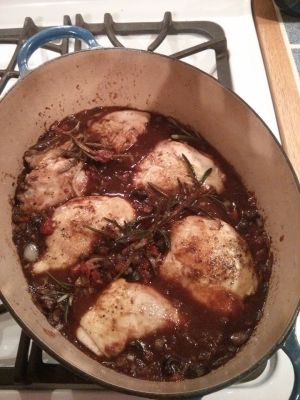
balsamic-chicken-with-capers-olivesSeason chicken with salt and pepper, and brown in butter or olive oil in a dutch oven or large oven-proof saute pan.  Remove from the pan and set aside.

Remove any excess fat, add the mushrooms, onions and garlic and brown until onions are opaque, then add the capers and balsamic.  Let it reduce by half (a couple minutes) and add in crushed tomatoes, sugar, olives, red pepper, the chicken pieces, a few springs of rosemary, and more salt and pepper if desired.

Bake uncovered at 400F for 25-30 minutes until chicken is cooked through. Remove and serve with polenta, cut into rounds and heated in a fry pan until warm and slightly brown. If there’s any sauce left, you can eat it over pasta the next day.

Recognizing a Cooking Style

Or that you don’t have one.  The collection of recipes here is a bit random.  My interests (in life and in cooking) are all over the place.

But nothing gets on here without being made, eaten and liked — because why would you blog about a meal you hated (generally speaking).

There are some unifying factors of course, gluten free being at the top.  But in the Italian style, almost everything we cook quickly for dinner typically starts with diced onions and garlic sautéd in olive oil — the herbs vary depending the the direction – basil and oregano for tomato based, rosemary for chicken, simply gf flour, salt and pepper for a white sauce, pepper and chilies for a Indian or Tex-Mex journey, potatoes or mushrooms for a more French or Irish feel.

I grew up in a meat and potatoes type household with a lot of convenience food and not a garlic bulb in sight (although there were a LOT of onions) — I’m the youngest, my Mom worked and was pretty bored with cooking by the time they had me, and my Dad doesn’t really cook anything besides tomato soup, grilled cheese and brownies. It was the 70s and 80s and most people didn’t experiment with food and cooking the way they do now.  Mum made a lot of casseroles, stews, and convenience food (scalloped potatoes from a box, Hamburger Helper, Shake and Bake, spaghetti sauce from a jar — we did a lot to keep Betty Crocker in business).  More homemade items included macaroni and cheese, corn chowder, meatloaf, homemade pizza (we lived too far from any place that actually made pizza to order it) and something called “Tuna Wiggle.” (tuna noodle casserole with peas).  When I went to college I was not a great cook, and definitely not very experimental.  I did a lot of baking, and baking of course depends on the chemical reaction of the ingredients and the portions of each matter more than in cooking.

When I met my now husband, it was a revelation.  He cooked.  He doesn’t bake.  It completely freaked me out to cook something without slavishly following the recipe.  He loved to experiment and many of the things he makes often never came out quite the same twice.   One of his standbys in college was a simple chicken in wine with artichokes served over rice.  In the same way he had never even heard of Hamburger Helper, I’d never eaten an artichoke in my life.  I’ve gradually adapted to his way and cooking is one of the activities we share the most. With a lot of fresh ingredients and spices. I’m no longer afraid to experiment more with styles of cooking, with ingredients and with ratios — even when baking.  I eat a lot less processed food.

I’ve recognized my inner chef.

Although I still admit to loving Shake & Bake (and inventing a GF substitute!).


via Daily Prompt: Recognize

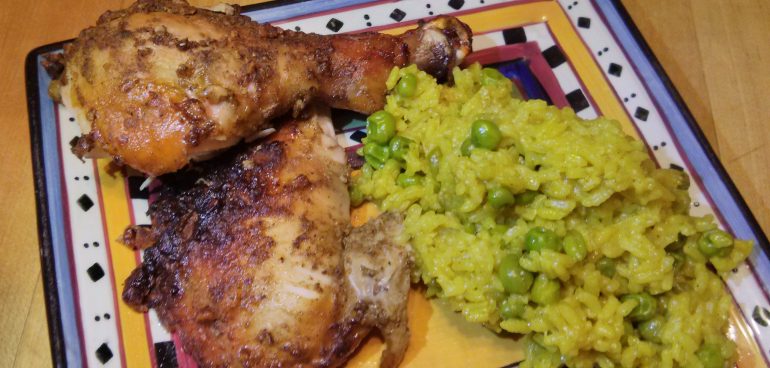
Vegetable Pallao and Cumin Cashew Chicken

Cumin and Cashew Roast Chicken

This is a very easy recipe with a simple marinade.  I made it with a whole chicken that I got at my local farmer’s market from the good folks at Sugar River Farm.  It’s adapted from a recipe for a similar marinade.  The original recipe for Almond and Cumin Roast Chicken is here. I’m not that fond of almonds and think cashews have a lot more flavor so went with those.  I do love cumin, which you’ll need to!

Some advice  — Don’t space out like I did and forget to baste!

I paired with a Pallou Rice adapted from Curries Without Worries by Sudha Koul.

Ingredients

  • 1 whole chicken (unless you’re really adventurous and you can butterfly it.) You could also used a cut up chicken (bone in, with skin)
  • 4 tbsp ground cumin (Um yes, that’s correct and yes, that will be at least half the bottle of cumin).
  • 2 tablespoons garam masala
  • 1 teaspoon chili powder
  • 3 large garlic cloves, peeled and roughly chopped
  • 3/4 cup (100g) cashews
  • 1 1/3 cups (300mls) plain natural or Greek yogurt
  • 2 tablespoons vegetable oil
  • juice of 1 lime
  • salt and pepper

Directions

Rinse and pat the chicken dry. Set aside.  In a chopper or food processor, blend all the other ingredients and process into a paste.  (If you don’t have a food processor, chop the cashews as fine as you can and put the garlic through a press – then mix like crazy)

Pour the marinade over the chicken and spread to cover all exposed parts.  Let sit in the fridge for at least 4 hours, up to overnight.

Place in a heavy oven proof pan or dutch oven and roast at 400F (200C) for 45-50 minutes, basting every 10-15 minutes. Use a meat thermometer to ensure the internal temp is at least 175F. Let it rest for 15-20 minutes before eating.

I paired with a Pallou Rice adapted from Curries Without Worries by Sudha Koul (don’t think it’s still in print, but you can get it used).

Image

Colorful Kaleidoscope Carrots

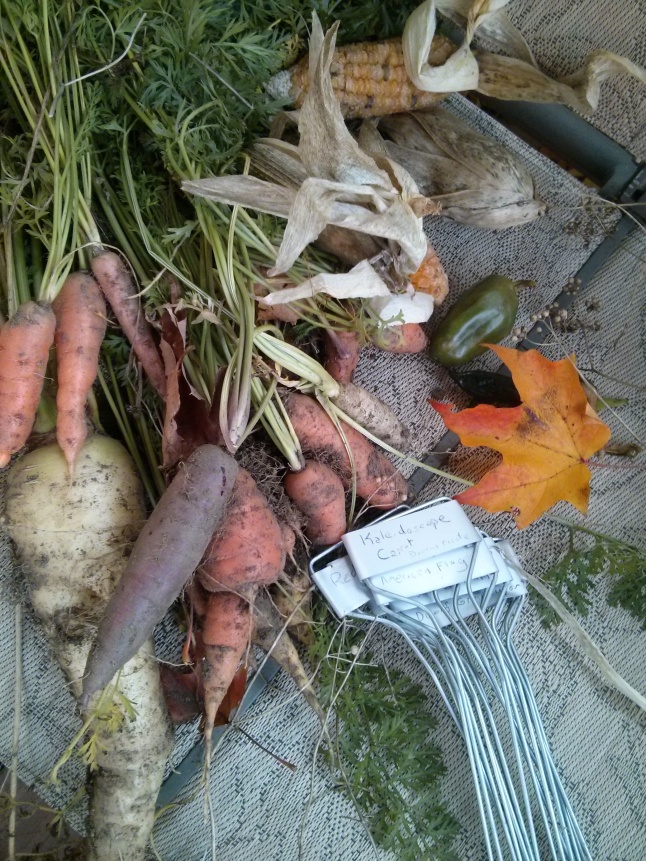
IMG_20151029_172233Cut Up Kaleidoscope carrotscleaned kaleidoscope carrotsAs you might know, Boston had its snowiest winter ever recorded this year.  (The pile of snow removed from the streets in the South Boston “snow farm” did not melt until after Bastille Day in July!).  That meant I was absolutely desperate to see some sign of spring and was thrilled at the chance to go to the Boston Flower Show in March.  It was like heaven on earth.  Green things! Food for the soul.

One of the booths was Hudson Valley Seed Company, which sells seeds for heirloom variety vegetables.  One of the things I fell for was an art pack of Kaleidoscope Carrots – carrots in a rainbow of colors – purple, yellow, red and white, along with well, carrot orange.kaleidoscope_done_1 Oh, the ambitions one has for the garden while it is still winter.
We planted them in our expanded garden in late May when it was finally safe. They have a 75-day growing season so we should have been able to harvest them in mid to late August, but the few we pulled up (despite their giant green tops) were tiny, so we left them in the ground longer.  We finally harvested them for a dinner party this week. We pretty much had to since we were digging up the garden for the winter. Sadly, with only a few exceptions, they still did not look like the beautiful ideal we hoped for.

Kaleidoscope-carrot-ideal

The kaleidoscope ideal. Sigh.

(One of the farmers at our local market said this was likely the result of not enough nitrogen and we need to fertilize better next year.) His vegetables are gorgeous so he ought to know.  That and i think we didn’t thin them properly.

None the less they still had gorgeous color, and they tasted lovely – very mellow compared to store-bought carrots. We steamed them in the microwave until crisp-tender and just added a little bit of butter.  Our friends thought they were beautiful – a feast for the eyes and the tummy.

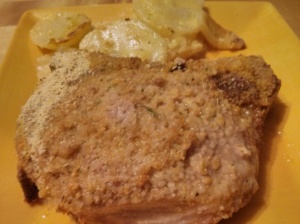
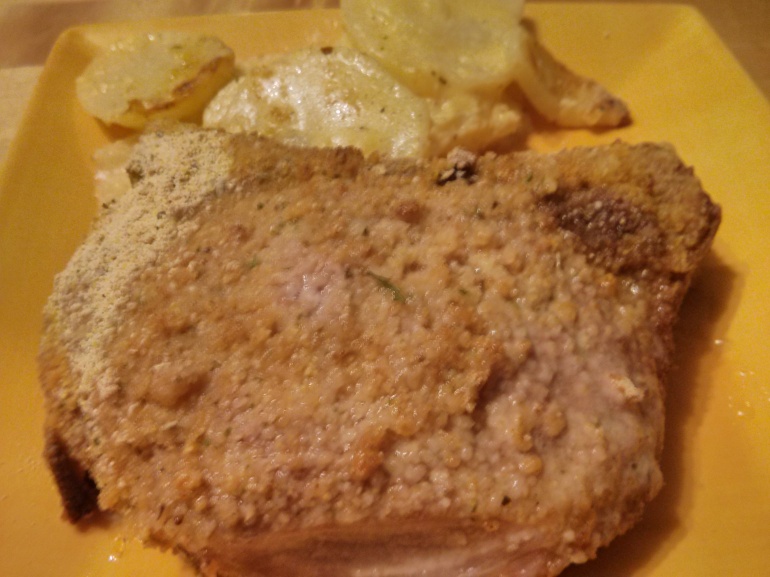
Gluten-Free Au gratin potatoes with pork chop

Au Gratin Potatoes (GF)

The base of AGluten-Free Au gratin potatoes with pork chopu Gratin potatoes is a white sauce, so if you need to make them gluten-free, you have to have a substitute for the flour in the sauce.  This is a very yummy recipe that I served with breaded pork chops (homemade Shake and Bake equivalent) because, again, not exactly gluten-free inherently.

Ingredients

  • 2 pounds of potatoes (6 medium)
  • 1 small white or yellow onion
  • 2 tbsps olive oil
  • 2 tbsps butter
  • 1 tbsp GF flour (for this you want something substantial, like a fava bean flour, not a featherlight type).
  • 3/4 tsp salt
  • 1/2 tsp fresh grated pepper
  • 2 cups milk
  • 2 cups shredded sharp cheddar cheese (8 oz)
  • 1/4 gf bread crumbs (I use Aleias)
  • paprika

Instructions

For the potatoes, chop the onion very fine.  You want between 1/4 to 1/2 a cup depending on your preference. Without any onion, the potatoes will be quite bland.

Melt the butter and mix with the olive oil,

Cook the onion on low heat until it starts to soften and become translucent (but not brown).  Stir in the flour to make a bit of a paste, then add the milk and stir until fairly smooth.  Add the cheese and raise the heat, stirring constantly until the mixture boils and starts to thicken, about a minute after boiling.  Stir in the salt and pepper.   (If it doesn’t seem like it’s thickening you can add about a tsp of cornstarch mixed with a tiny bit of warm water, but you shouldn’t need to.

If the potatoes have a good skin, leave it on (because that’s where the nutrients are!) Otherwise peel them, and slice thin – 1/4 inch)(you’re aiming at about 4 cups). If the potatoes are large, you may need to cut them in half again.

Grease or spray a casserole dish (1 1/2-quarts), place in the potatoes and pour the sauce over them. Mix a bit. Top with breadcrumbs and remaining cheese and sprinkle with paprika to taste.

Cook uncovered in a 375 oven for 75 minutes(If you are roasting something at a lower temperature, you can just cook them longer – 100 minutes in a 325 oven, for example). Alternatively, you can cook them for about an hour and then add the crumbs and cheese, and cook for another 15-20 minutes, but I think that’s unnecessarily complicated. Throw them in and forget them. Either way, they’re pretty hard to mess up. They should be bubbly and brown at the edges when they are done.  Check the tenderness of the potatoes with a fork, if you’re not sure.

I served with breaded pork chops (GF, of course), applesauce and carrots.

Gluten-Free Au gratin potatoes with pork chop

Gluten-Free Breaded Pork Chops

TGluten-Free Au gratin potatoes with pork chophis is a very yummy recipe that I served with au gratin potatoes.

I know I know, processed food is bad.  But frankly, I adore Shake & Bake (both the taste and its ease).  And I love pork chops. However, as of yet, General Mills is not making a GF Shake & Bake, and I miss it. I find this be a pretty close substitute, using gluten-free flour and bread crumbs.

Pork Coating Mix

  • 2 tbsps yellow cornmeal
  • 2 tbsps GF Flour (a mediumly heavy mix, probably a brown rice and bean – I used Fava bean flour)
  • 2 tbsps GF Breadcrumbs, Italian style if possible. I use Aleias.
  • 1 tsp poultry seasoning (or sage)
  • 3/4 tsp salt
  • 1/2 tsp onion powder
  • 1/2 tsp Italian seasoning
  • 1/2 tsp paprika
  • 1/4 tsp sugar
  • 1/4 tsp pepper

Mix together all the dry ingredients in a bowl or, ideally, shake around in a plastic bag big enough to hold a pork chop.

You will also need 2 large pork chops and 1/4 cup milk

Cooking Directions

Rinse the pork chops in water and pat dry with a paper towel.  Then dip them in milk. You want all the sides to be coated. Don’t let them drip off too much – you want them to be wet. Drop them in the bag with the coating mixture and shake.  (You can just roll them around on a plate with the coating mixture, but shaking’s way easier and less messy).

Place on a shallow baking or roasting pan, and cook in a 425 degree F oven for 30 minutes or until the juices run clear and the center is opaque (165 degrees F (75C)). I find pork chops to be a little tricky – they seem to go from not cooked to overdone in about 1 minute and a half, so keep an eye on them and use a meat thermometer.

I served with au gratin potatoes, applesauce and carrots.